We have put a lot of work into busbus since our last blog post and are proud to finally say that it is a thing:
busbus 0.1.0 is now available on PyPI.
You can install it (preferably in your virtualenv) with pip install busbus.
Of course, we have had our fair share of issues and obstacles, but we are starting to see busbus evolve into a real transit platform with a well defined API. While we haven’t been able to add support for as many transit agencies as we would like, we have laid the groundwork in order to make the platform easily extensible. Any transit agency that has a GTFS feed can have static data available through busbus with just a few lines of code.
Realtime data has proven to be more difficult to implement than we expected. As of right now we only support MBTA realtime data, but this serves as a proof of concept and we are planning to add support for Lawrence and any agency that uses NextBus as soon as possible. This has been a great learning experience for all of us due to the many obstacles that we have had to overcome.
busbus core and web
I (Ian) wrote a month ago about how we were totally behind on everything and that this was a problem. As time during the semester was dwindling, we realized that our project’s scope was far too grand for a single school year. (Fortunately, we learned we were not alone in that.)
busbus 0.1.0 offers a very limited selection of providers. If you just want MBTA data, you’re set, assuming all the documentation you need is our demo asciicast.
Apart from that, we’re pretty sure that the data model busbus presents is sound (apart from agency alerts, which haven’t seen an actual implementation yet). We’ve exited the part of busbus development where we try to figure out how to deliver data, in a general sense, and we’ve entered the part where we have to start implementing lots of data providers.
Applications
In addition to busbus core, we wanted to show real world uses of the busbus platform. Our end users are developers, so we needed some kind of real world application to showcase how to use busbus. This lead us to choosing the three applications that are most likely going to be made with this platform. An android app, a web application, and a LED board. In all honesty, we probably spent too much time on these and not enough time on busbus core, but the applications were the fun part!
Android app
In our last blog post, we talked about how we were able to make HTTP requests to the busbus web API for static data. Since then we have been able to use the Android Location Services to get GPS location from the phone. Using this location, we allow users to get stops closest to the user. Using busbus, this is easy with the following request:
http://fake-hosted-busbus.com/stops/find?latitude=xx.xx&longitude=xx.xx&distance=500
which will get all stops withing 500 meters of the given location.
Once busbus realtime for MBTA was added, we were able to get realtime data on
the Android app. The great part about this is that we didn’t have to change
ANY API requests. In order to get only static data, the only thing that needs to be
added to the request is realtime=False.
Enough talking about it, here is the app in action:
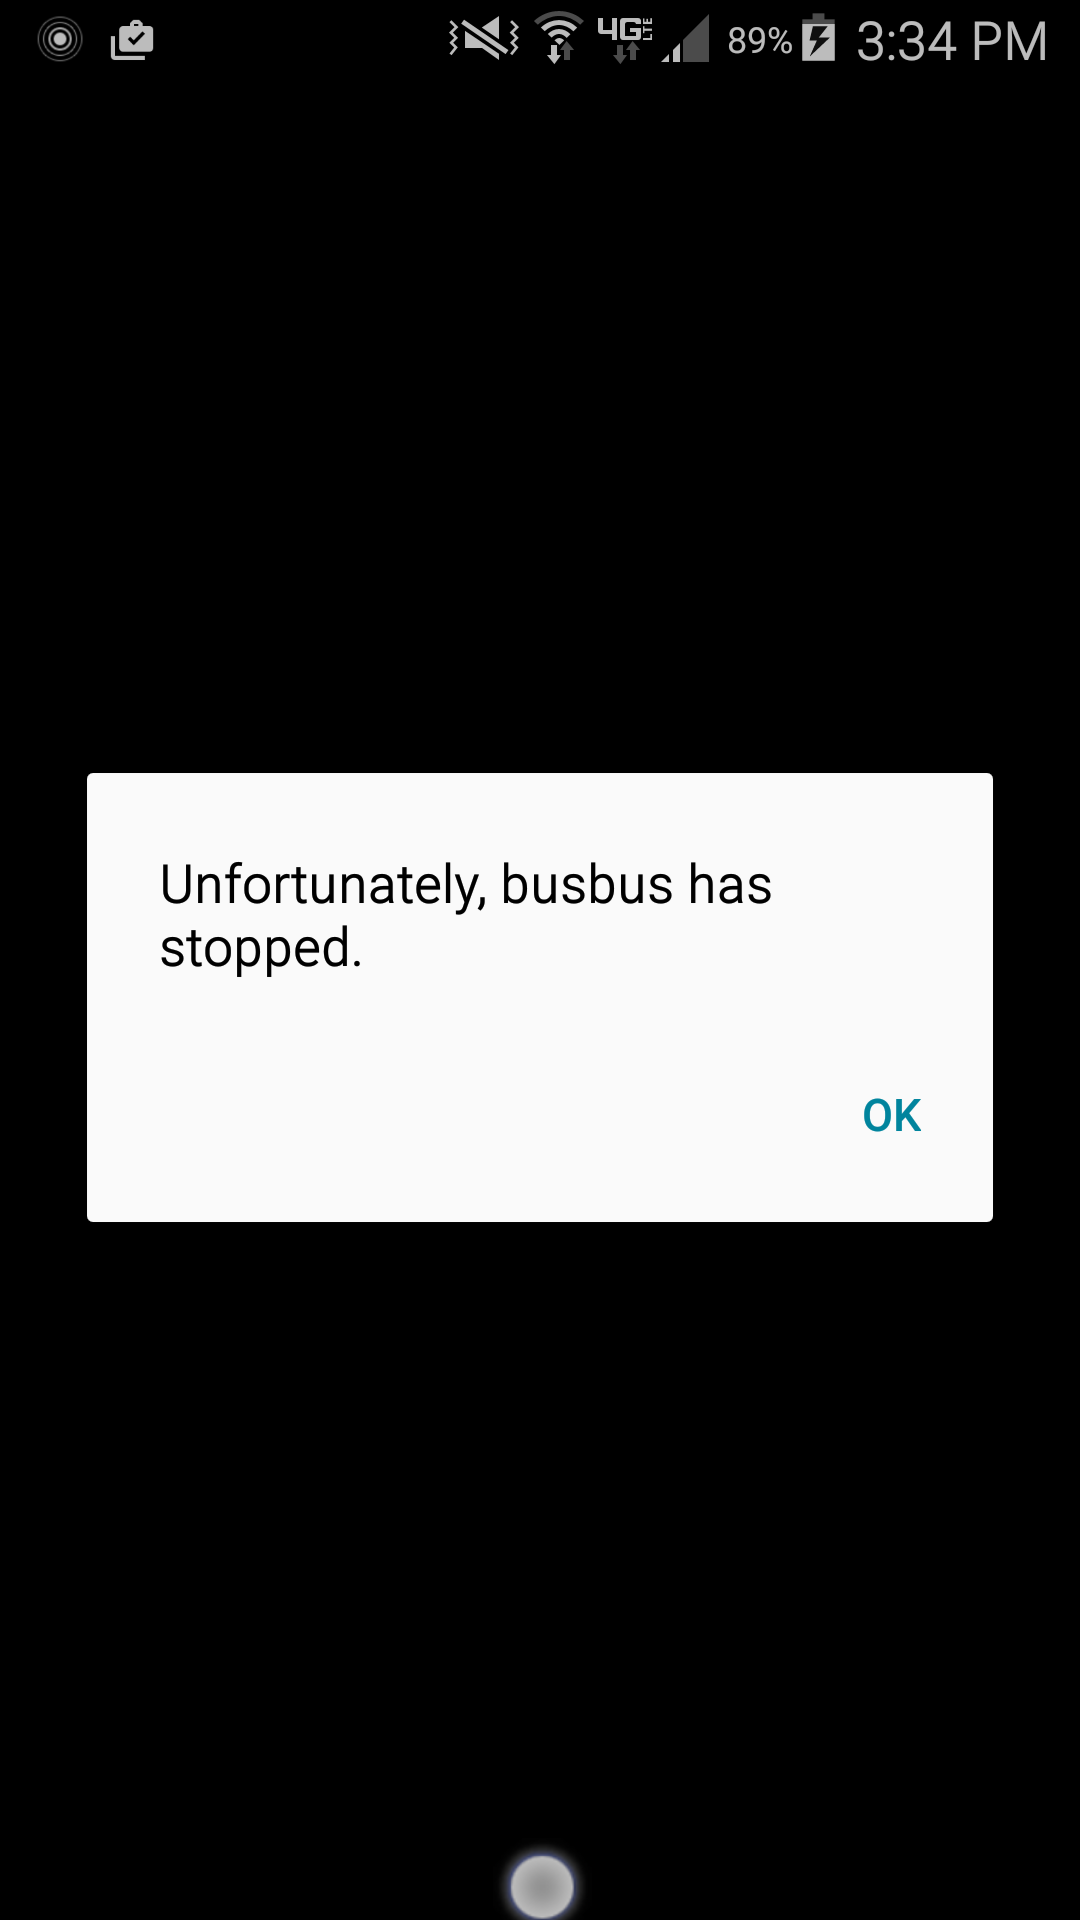
So what did we learn from writing the Android app? Well it helped us figure out common use cases and issues with the busbus web API. We also learned that Android is hard. There is a pretty steep learning curve so we are proud of what we were able to accomplish with this app. We also gained some respect for stable Android apps because we saw a lot of this…
Web app
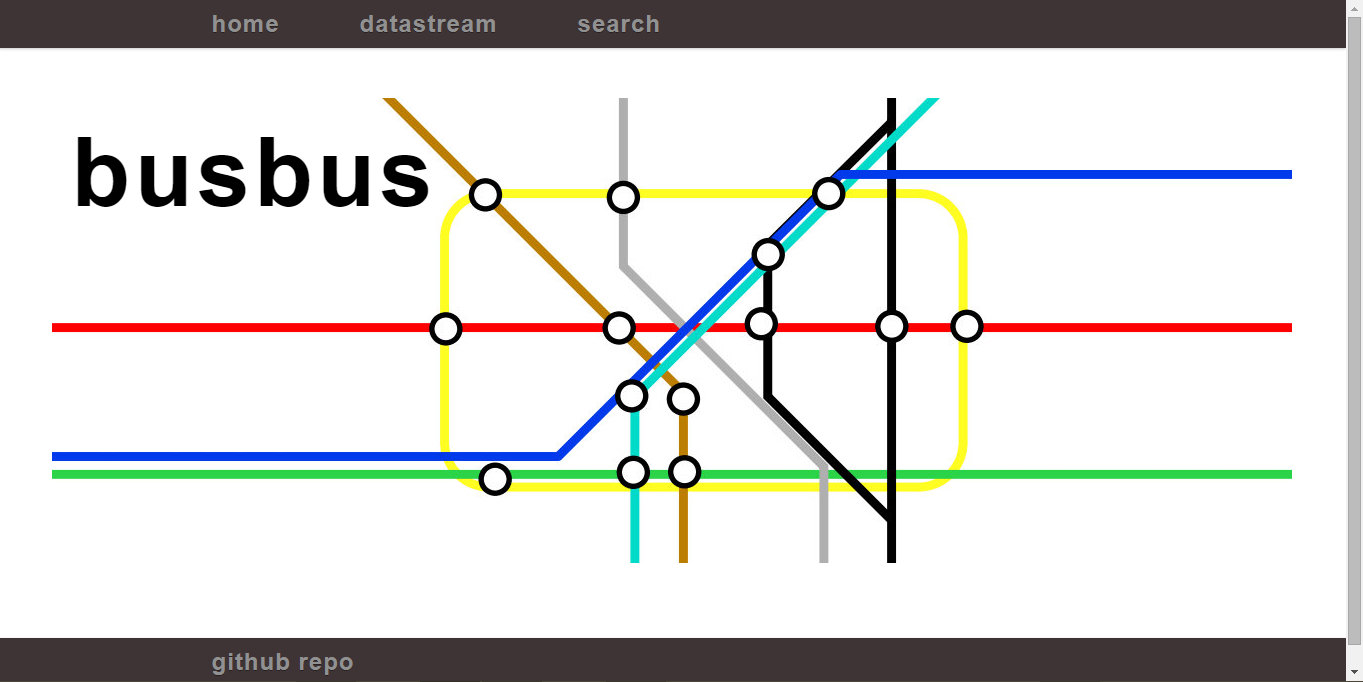
Nick and Monica have continued working on a web app to demonstrate how focus can be placed on building the application rather than the process of retrieving data from different transit agencies on the back end. The web application uses a Flask framework, Python for the server side, jQuery for the client side, and HTML/CSS formatting. It currently has a “home” link linking to the busbus repository on GitHub, a “datastream” link, and a “search” link.
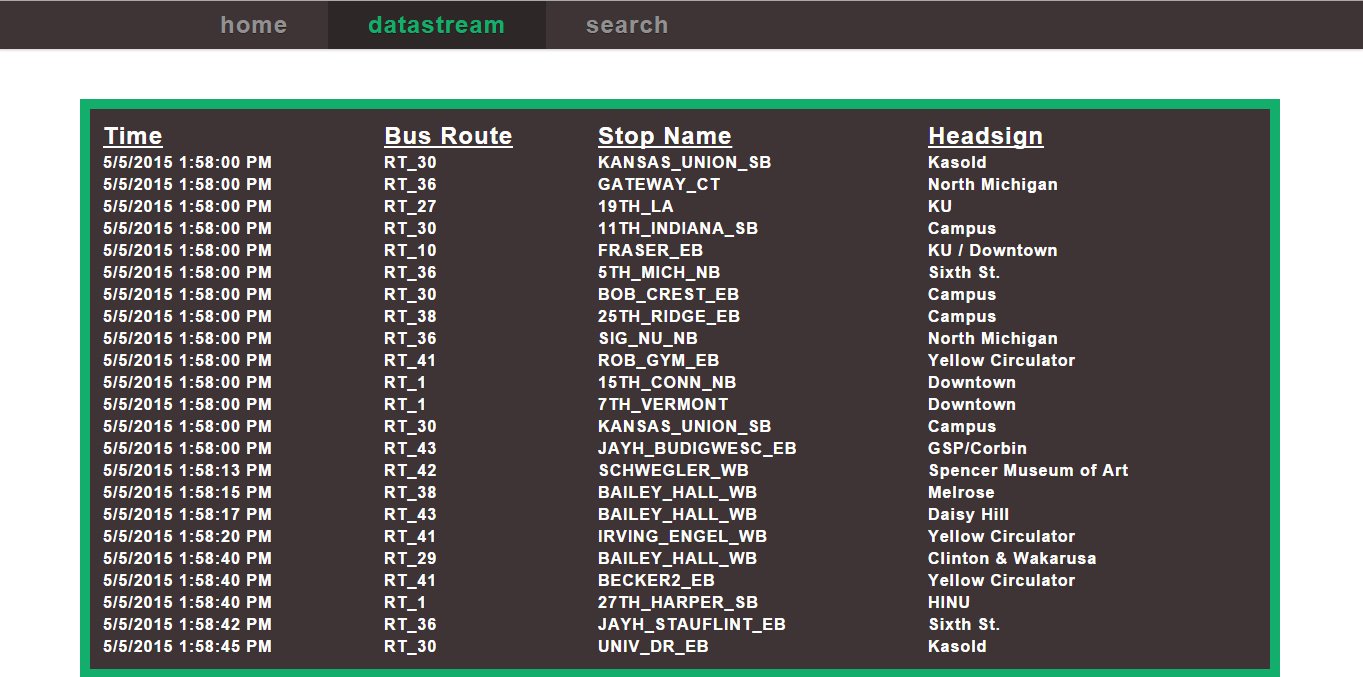
The “datastream” link displays current arrivals in Lawrence, KS by bus route, stop name, and headsign, and refreshes every five seconds. This was accomplished by querying busbus for arrivals based on the Lawrence Transit provider id and a start and end time as parameters. The data is then placed in a table which appears on the screen, and the whole function is ran again after a timeout on a continuous loop to “stream” the data.
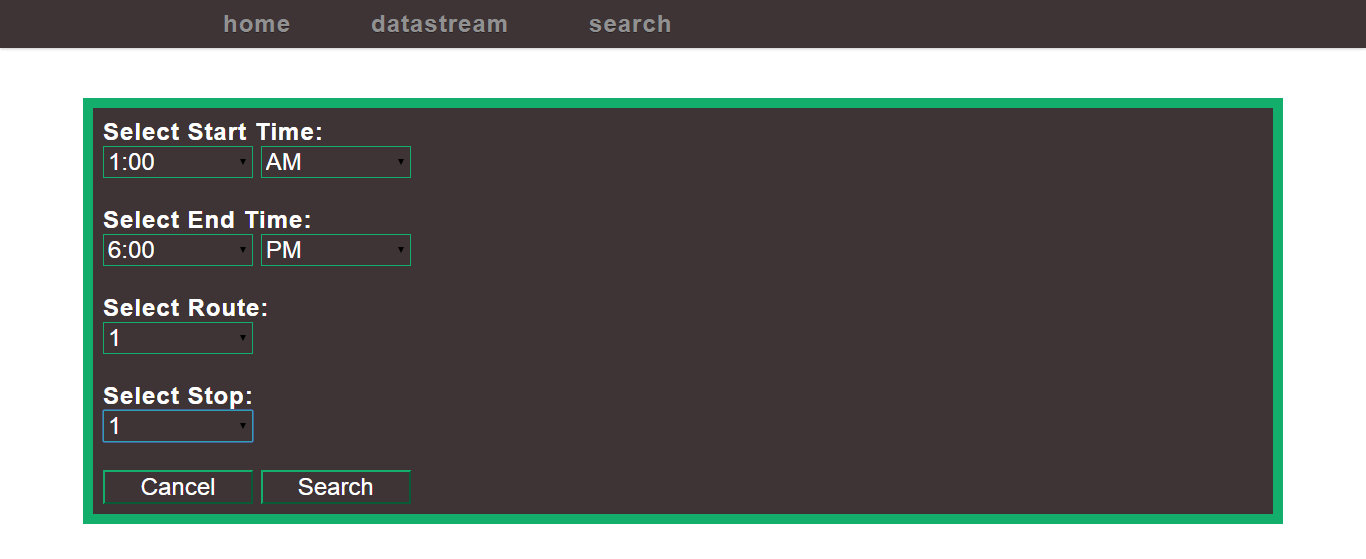
Finally, the search functionality was added. The search tab allows the user to select the transit agency upon which to conduct their search. Once this has been done the appropriate data corresponding to routes and stops is loaded, and the user can then select a time range, route and stop to display arrivals for. The same sorts of queries are performed using busbus to retrieve the data.
We aren’t currently hosting this web app so here are a bunch of screenshots of it in action.

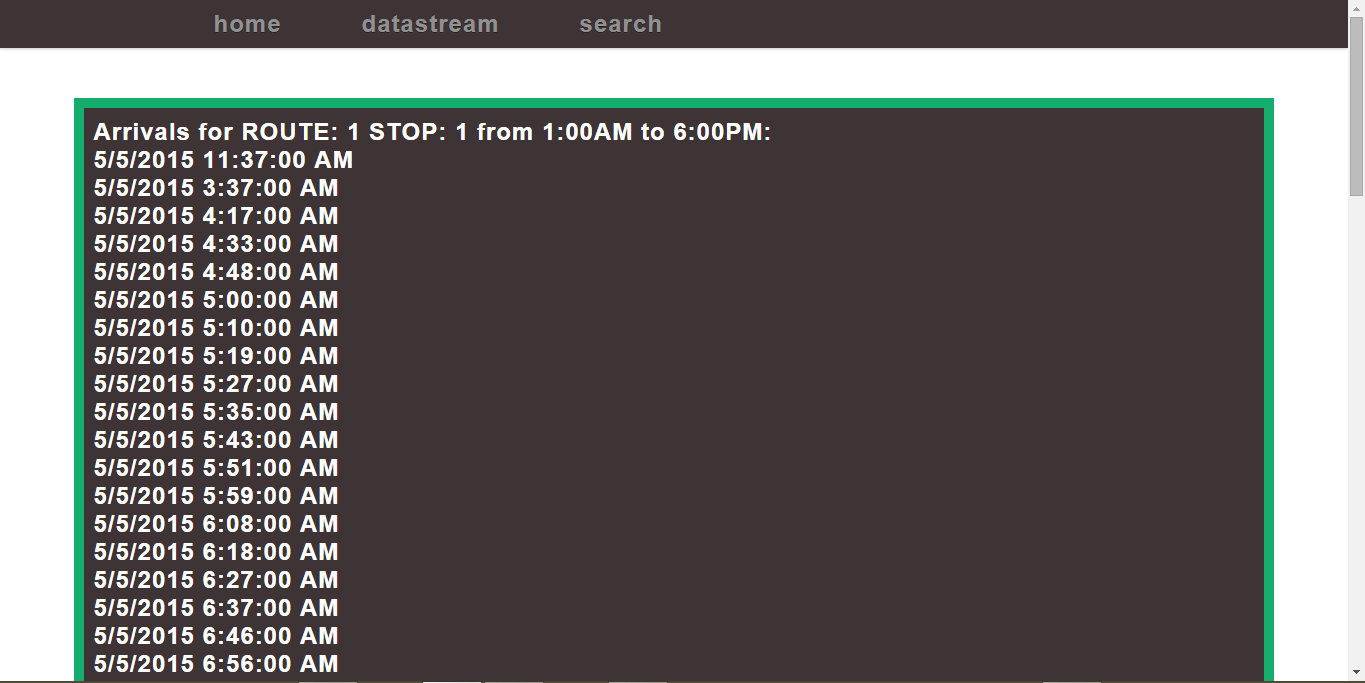
While the web app is quite simple in terms of functionality, both Nick and Monica did not have much experience with web applications, and achieved the goals they set out to accomplish with the project.
LED board
Since our last blog post, we have completely rewritten the code for the LED board using Node.js. Our previous implementation was… interesting. It had a Python web interface that ran a C++ board controller. We decided that this was kind of a weird solution and it was difficult to prototype new features because it took so long to compile.
We decided we could come up with something better and found that a bunch of the libraries we had been using had been ported to Node.js. Since we already had some experience with Node from the labs at the beginning of the year, we figured that it would be a better option. After rewriting everything in Node, we now have a much more sensible solution.
The main feature is what we call a state queue. Each state is a scene that is displayed on the board. The state queue has add and remove features that can be accessed by the web API, documented here (sorta). As of right now, the only supported state is text, but we plan to add support for images as well as more advanced text layouts by the end of the semester. We also have a web app that allows users to add and remove text states. This web app is available to any user inside the EECS network here, assuming we actually have the server running at the time.
We hope that the LED board will be used by future senior design classes. All of the code is public on github here, so it will be easy to add features, or write something totally new that will utilize this resource.
Specific to our project, we are using the board to display upcoming bus arrivals for the stops around the Engineering building. This serves as a good example of how to make simple http calls to the busbus web API.
The next stop is…
busbus does not go out of service here.
Finishing this blog post is essentially our last action for EECS 581/582 at KU, but it’s our intent to continue developing busbus as an open source project. We’re going to be hard at work adding new providers and making sure busbus works for people interested in transit data.
All of the code in our repos is open source so anyone interested in pitching in is welcome. Find more information on our GitHub organization page.